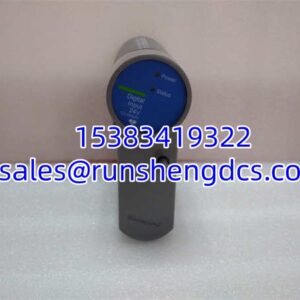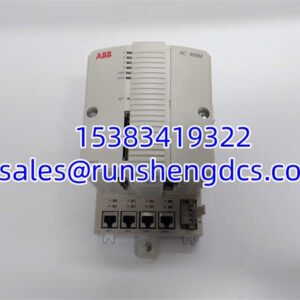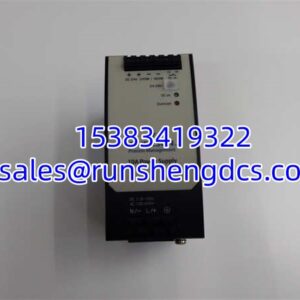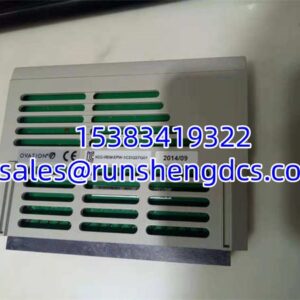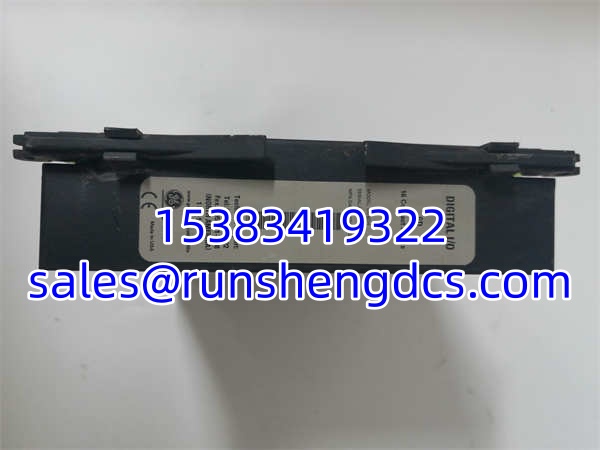

Description
Key Technical Specifications
- Product Model: UR6DH
- Manufacturer: GE Multilin
- Product Type: Digital I/O Input/Output Module
- Input Capacity: 16 Digital Contact Inputs
- Operating Voltage: 18.5 to 36 Vdc
- Data Transfer: High-Speed Internal Bus
- Configuration: EnerVista UR Setup Software
- Mounting: Internal Relay Chassis Slot
- Weight: ~0.29 kg
- Temp Range: 0°C to 60°C
- Humidity: 5% to 95% Non-Condensing
Product Introduction
I’ve seen protection relays fail to trip because a field tech wired a 120VAC signal directly into a GE UR6DH rated for 36VDC max. This module is the nervous system of your UR relay, but it’s not invincible. The GE UR6DH provides 16 digital inputs to monitor breaker status, lockout relays, and external permissives without running expensive hardwiring back to the main PLC. It’s a clean, internal solution that keeps the panel tidy and the logic centralized.
Engineers rely on the GE UR6DH because it integrates directly into the UR’s protection logic. You can use these inputs to block protection elements, initiate reclose sequences, or send status to the SCADA master via the relay’s comms port. The high-speed internal bus means the GE UR6DH doesn’t add significant scan time to your critical protection loops. Just be warned: the input cards are sensitive to polarity and voltage spikes. If your field wiring runs near VFDs, use shielded cable and check your grounding, or the GE UR6DH will give you ghost inputs that will drive you insane during commissioning.
Quality SOP & Tech Pitfalls
The Lab Report:
I don’t trust “tested” stickers. Here is the actual protocol before a ships:
- Visual Inspection: Check the backplane connector pins for bending and the input terminal blocks for cracks.
- Live Injection: We use a relay test set to inject dry contacts into all 16 inputs. We verify the status word updates in EnerVista.
- Voltage Check: Fluke 115 to verify the internal 5V and 3.3V rails are stable under load.
- Firmware Log: Record the relay firmware version. Mismatched firmware can cause the to be “unrecognized.”
- ESD Seal: Anti-static bag, bubble wrap, box.
The Engineer’s Warning:
The #1 killer of these modules is backfeed. I’ve seen techs use a multimeter in current mode to check a live input on the and instantly fry the opto-isolator. Always verify the circuit is de-energized or use a high-impedance voltage tester. Also, check your common return wiring. If you daisy-chain too many inputs on a single common wire with a poor connection, the voltage drop can cause the to see a “0” when it should see a “1”. Use star grounding for the input commons whenever possible.
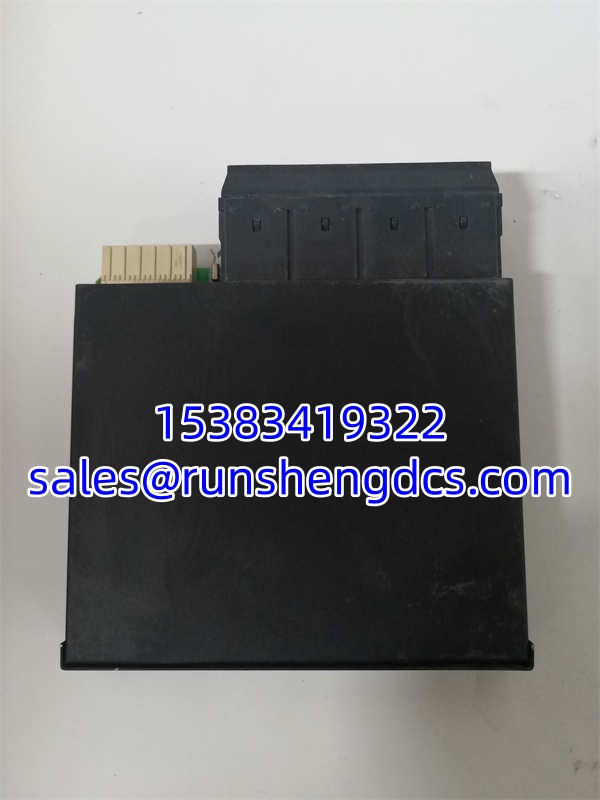
GE UR6DH
Installation & Configuration Guide
- Pre-Installation Safety: ⚠️ Lock out/tag out the relay control power. Wait 60 seconds for capacitors to discharge. Take a photo of the existing module’s position and any jumper settings.
- Removal: Release the internal retaining clips. Pull the straight out. Never lever against the backplane.
- Installation: Verify the slot assignment in EnerVista. This prevents 90% of “Module Missing” errors. Seat the firmly. Tighten the front panel screws to ensure chassis ground.
- Power-On & Testing: Apply control power. Check the relay’s “Module OK” LED. Open EnerVista and verify the input status matches the field conditions. Force a test input if safe to confirm logic response.
Compatible Replacement Models
- ✅ Drop-in: – Exact match. Verify input voltage rating.
- ⚠️ Software Compat.: – Same form factor, newer firmware. Drop-in, but check release notes. ~0 hrs labor.
- ❌ HW Mod Req.: – Adding analog inputs requires a different slot or module. Do not mix up digital/analog slots.
Frequently Asked Questions (FAQ)
Can I use this for 120VAC inputs?
No. The is a low-voltage DC module (typically 24VDC or 48VDC). If you need 120VAC, you need an external interposing relay or a different I/O module like the UR6AH (if available for your chassis). Putting 120VAC into a will destroy it instantly.
My module isn’t showing up in EnerVista. Why?
Check the physical seating first. The has a deep backplane connector; if it’s not 100% flush, it won’t talk. Also, verify the slot configuration in the relay settings. If you moved the module from Slot 6 to Slot 7 but didn’t update the config, the relay will ignore it.
Is this module hot-swappable?
No. The UR series backplane is not designed for hot-swapping I/O cards. You risk corrupting the relay’s configuration or damaging the backplane. Power down, swap, power up, and download the config.
How many inputs does it actually have?
The typically provides 16 digital inputs. Some revisions might differ, so always check the label on the side of the module. Don’t assume based on the model number alone.
Can I use it for high-speed pulse counting?
Not really. The is designed for status monitoring, not high-speed metering. If you need to count pulses from a flow meter, use a dedicated metering module or the relay’s built-in metering inputs if available.
Check the with a different revision suffix (e.g., vs ). They are usually backward compatible, but verify the input voltage and logic polarity in the manual. I’ve seen “equivalent” modules with different internal pull-up resistors cause nuisance alarms.